
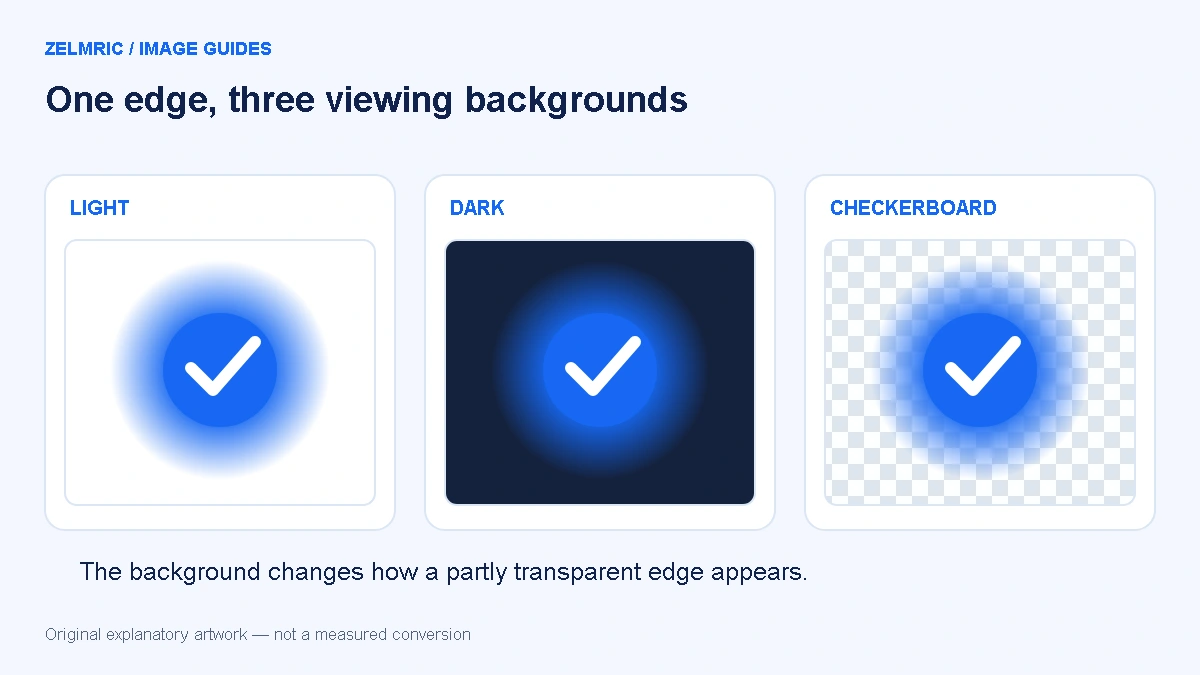
The background disappears, yet a pale outline remains around the logo. On a white page you barely notice it; on a dark navigation bar it becomes conspicuous. That observation does not, by itself, prove that transparency was removed. It tells you to examine the edge and compare the source under the same conditions.
A useful PNG to WebP transparency check changes the viewing background while keeping the image and scale constant. It also distinguishes three things that are often confused: a genuinely transparent area, a partly transparent boundary, and a solid background that was painted into the original. Each requires a different response.
Alpha is more than an on-or-off background
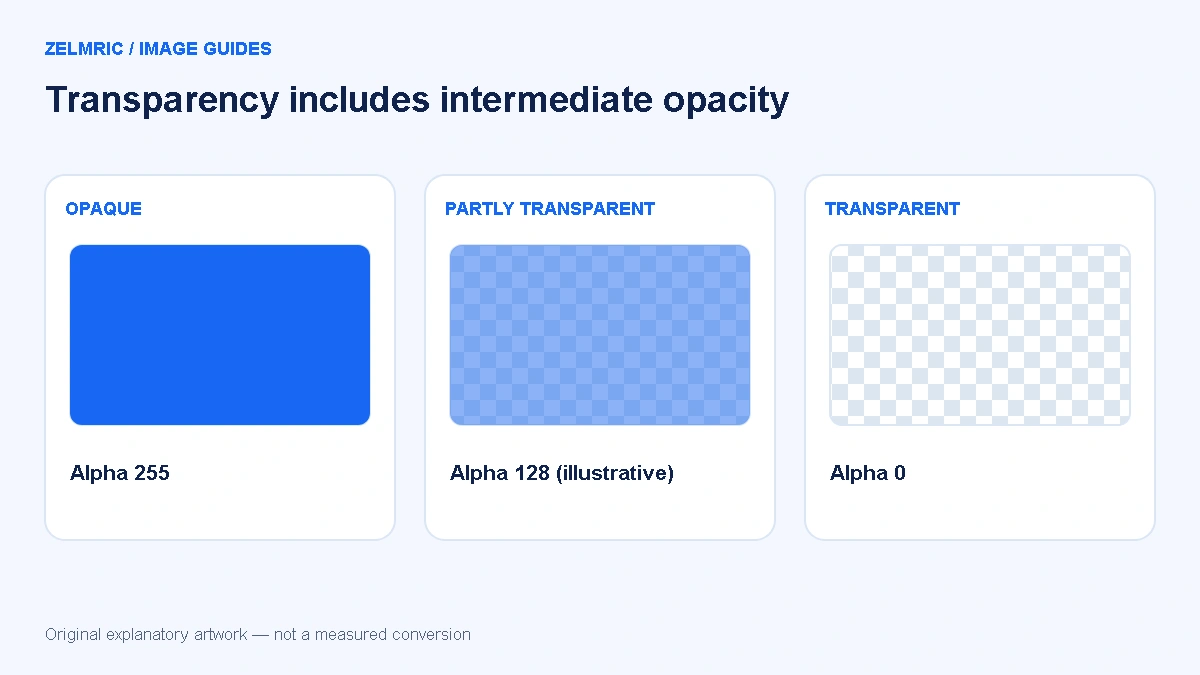
An alpha channel describes opacity alongside colour. In an eight-bit representation, zero is fully transparent and 255 is fully opaque; intermediate values allow a shadow or edge to blend with the background. Anti-aliased curves often rely on these intermediate pixels to avoid a jagged appearance.
WebP supports transparency, including alongside lossy colour encoding. See Google’s WebP format overview. That means a transparent delivery file is possible, not that every converter uses a lossless mode or that every coloured edge will remain pixel-identical after re-encoding.
First establish what the PNG actually contains
Open the source in a viewer or editor that can display transparency against more than one background. A checkerboard is normally a viewing aid, but a downloaded image can contain a checkerboard painted into its pixels. If the pattern is part of the artwork, conversion will not turn it into an alpha channel.
Similarly, a white rectangle behind a logo may be fully opaque. Renaming the file or exporting it to another format does not remove that rectangle. If the source needs background removal or layer editing, do that in an appropriate graphics editor; the Zelmric converter does not offer those editing functions.
Build a background-switching inspection
Download the WebP result and compare it with the original PNG at the same displayed size. Put both on a light background, then a dark one. If the image will sit on a specific brand colour, include that colour as a third check. Keep the source and output aligned so differences in scaling do not masquerade as edge changes.
Inspect the outermost contour, holes inside letters, soft shadows and translucent highlights. Do not rely only on whether the centre of the background looks empty. A file can retain transparency while an edge becomes visibly different, and an image viewer’s own white background can conceal both a fringe and a loss of alpha.
Diagnose a halo before choosing a remedy
A fringe can already exist in the source. Edge colours may contain traces of an earlier matte or background, which become obvious when the artwork is moved to a contrasting surface. A natural semi-transparent shadow can also look different on black than on white without being defective. Compare the source first.
If the PNG and WebP show the same fringe, increasing WebP quality is unlikely to repair the underlying artwork. If only the export looks worse, repeat from the original with a higher quality request and unchanged dimensions. Use the quality inspection checklist to separate colour-detail changes from transparency checks.
Resizing adds a second variable
Shrinking a graphic changes the pixel representation of its boundary. A narrow gap or fine stroke may occupy fewer pixels, and an already soft shadow may appear different at the final size. This is why an export with both lower quality and smaller dimensions is a poor first comparison for diagnosing alpha behaviour.
Test with original dimensions first, then introduce the intended downscale as a separate trial. Zelmric maintains aspect ratio when you set a width or height and only scales down. It does not enlarge the source or reconstruct a sharper vector edge. Keep a suitable original or editable master for later sizes.
What Zelmric preserves, and what it does not promise
The WebP Converter draws supported decoded images onto a canvas and exports the result. PNG alpha can carry through this workflow. A local regression fixture checked that a pixel in a fully transparent area remained transparent after export; that is evidence for the tested case, not a guarantee covering every file and browser.
Quality 100 is not a lossless switch. Metadata and colour profiles may change or be removed, so this is not an archival-preservation workflow. Keep the original if exact pixels, profile handling or an editable document matters. A JPEG source has no alpha to preserve, even if its subject was originally photographed on white.
A concise handoff check for logos and interface art
- Open the downloaded WebP rather than approving only the converter thumbnail.
- Compare it with the PNG on the actual destination background.
- Read small lettering and inspect thin shapes at the intended display size.
- Check shadows and partly transparent pixels as well as the outer background.
- Record dimensions and keep the original alongside the chosen delivery copy.
If the output is larger, treat that as a separate question. The file-size troubleshooting guide explains why a compact PNG may grow. Preserving transparency is useful, but it is not sufficient reason to replace a smaller source that already works well at the destination.
Approve the artwork where it will be seen
For a collection of graphics, use a consistent set of light, dark and destination-colour checks rather than approving every file against one white preview. The batch workflow makes room for these exceptions before ZIP download and delivery.
The final question is not merely “is the background transparent?” It is whether the whole boundary, including its colour and partial opacity, looks right in its intended setting. Save that verified delivery copy, retain the source, and give the person placing the asset enough context to use it on the right background.
Check an image with alpha
Export a supported source, then inspect the downloaded result on the backgrounds where it will be used.
Convert a transparent image